Select Page

First way to install a ceiling fan:

Step 1, acquire the needed tools:

  • Crescent Wrench – Also known as an adjustable wrench, a crescent wrench has a set screw that adjusts the width of the wrench by moving one of the two jaws to the right or left. Use a crescent wrench to tighten a support brace or any bolts.
  • Cordless Drill with Long Bit – Drills holes in various materials. Use a cordless drill to install the junction box or utility box to the ceiling joists.
  • Voltage Tester – Also known as a test light, the tester consists of two leads that detect the presence of electricity in a fixture. Use a voltage tester when wiring a ceiling fan by placing one of the leads on the ground wire and the other lead on the hot wire to ensure there is no electricity running through these wires.
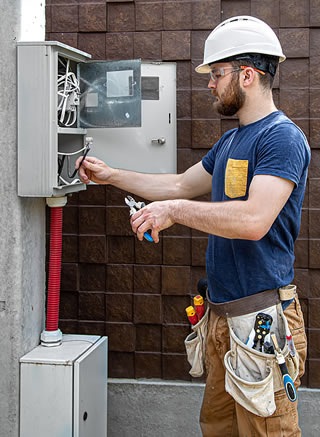
  • Wire Cutters/Strippers – Also known as diagonal pliers, wire cutters as their name implies cut wire by indenting and wedging the wire apart. Wire strippers strip the electrical insulation from the end of electrical wires. Many hand tool manufacturers offer wire cutters and strippers as a combo. Use these tools to install a ceiling fan by cutting and stripping the ceiling fan wires during the downrod assembly.
  • Pliers – Holds an object firmly in place. Use pliers to tighten set screws and lock nuts during the downrod assembly.
  • Screwdrivers – Used to turn or drive screws. The most common screwdriver types are flat-head screwdrivers and Philips screwdrivers. Use a screwdriver to tighten and secure the screws on the motor housing and blades to prevent any wobbling or shaking. Some brands may include a screwdriver in the packaging.
  • Electrician’s Tape – Also known as insulating tape, secure electrical wires and other materials that conduct electricity. Electrical tape is pressure-sensitive and flexible while providing long-lasting insulation. Use electrical tape to insulate all wire connections.
  • Ladder – Use a ladder to reach the mounting bracket and hang the motor assembly as well as wire the ceiling fan. If your ceiling is 9 feet or higher, choose a 5-foot stepladder. If your ceiling is 12 feet or higher, choose an 8-foot stepladder. If your ceiling is 15 feet or higher, choose an 11-foot stepladder.
  • Dusk Mask – Protects you against inhaling dust and other debris while assembling, installing, or cleaning a ceiling fan.
  • Safety Glasses – Shields your eyes from hazardous materials and flying debris during the installation process.

Step 2, Installation:

Second way to install a ceiling fan:

Step 1:
Call gold standard at 561-602-8766 and schedule an appointment

Step 2:
Watch Gold Standard Electric professionally install your ceiling fan quickly.

Step 3:
Enjoy the cool circulating air of your newly installed ceiling fan.

Contact Gold Standard Electric today to have your new ceiling fan professionally installed without the hassle.